Explore Hyrule Like an Expert: “The Legend of Zelda: Tears of the Kingdom” Guide
Want to explore the open world in Nintendo’s latest “Legend of Zelda” title? Here are a few tips to help you plan your exploration wisely.
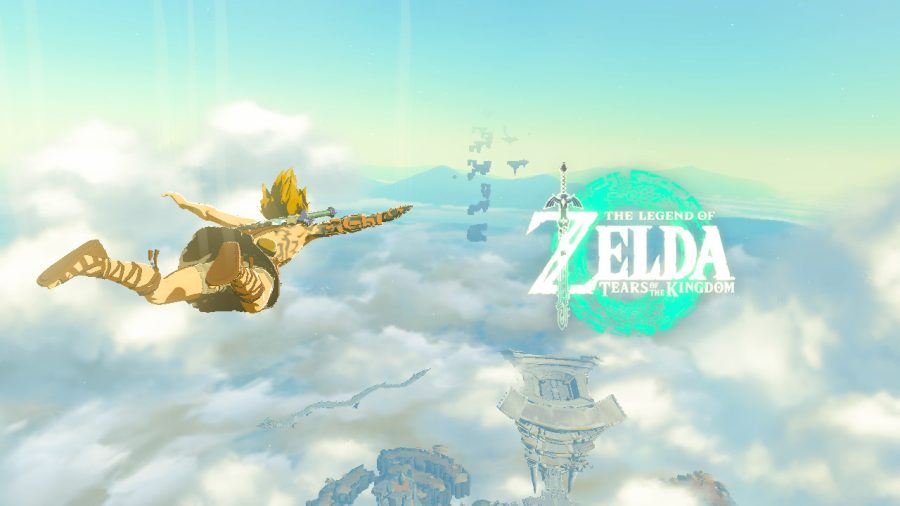
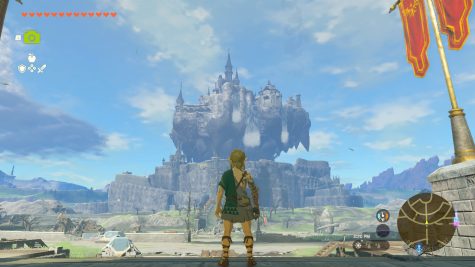
Screenshot of in-game title screen.
July 3, 2023
Any traveler will tell you it’s best to have a plan on vacation: where to go, what to see and who to meet with. I’d argue the same can be said for open-world games, especially if you are new to the format. Without some sense of direction, having an expansive world with little to no limitations can result in frustration and a lack of fun. So, as a recent newcomer to open-world gaming myself, I’ve compiled a list of tips to help people take their first steps into the kingdom of Hyrule.
Nintendo released “The Legend of Zelda: Tears of the Kingdom” on May 12 of this year. The game is a direct sequel to “The Legend of Zelda: Breath of the Wild” from 2017 and returns players to that version of the kingdom of Hyrule. The game itself is a wonderful successor to “Breath of the Wild” and wonderfully expands the world from the first game. “Tears of the Kingdom” welcomes new areas both above and below Hyrule, giving the player the option to explore ruins in the Sky, the towns on the Surface and the monster and life-draining goop infested Depths. With two new areas to explore, here’s the strategy that I’ve found to be the best.
1. Play the Tutorial:
Big “duh” moment; however, you cannot progress in the game until it is completed. The game starts similarly to the previous game, having you wake up on a floating sky island, with only a few moments of gameplay to give you context of how you got there. “Tears of the Kingdom” has different abilities from its predecessor, so it’s important to get comfortable with these mechanics in order to use them quickly during combat.
These new abilities are: Ultrahand, which allows players to move any object within the surrounding area and stick them together; Fuse, which allows players to attach raw material (such as rocks, sticks and/or other weapons) to their equipped weapon or shield; Ascend, which allows players to move upwards through ceilings or overpasses within a certain distance; and Recall, which allows players to move an object through time and space to a previous position within a certain time frame.
2. Get the Map
Once you’ve completed the tutorial level for all four abilities, you leap off the floating sky island you woke up on, and it’s off to the races. From here, you might technically be able to roam however you please, but I’d recommend following the first few main quest objectives. Doing so will get you the map and the camera. These are all earned from different main quests that will help you on your free-roam journey.
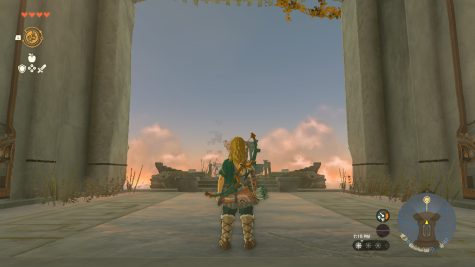
2.A To the Kingdom of Hyrule
The first quest, called To the Kingdom of Hyrule, takes you to Lookout Landing, a small base camp right in front of Hyrule castle, which now floats ominously in the sky. Doing this will grant you the map right after you talk with Purah who runs Lookout Landing. If you aren’t able to find her, ask the townspeople around the camp, and they will help point you to where to go.
Purah will also grant you the ability to place amiibos, figurines that you can interact with, in your games. Amiibos are not required to complete the game, as the day-to-day use of amiibos is to look cool, however, if you are a fan of Nintendo characters and have a (good-sized) disposable income, amiibos might be worth investing in. They will offer you cool items and supplies in-game, such as Wolf Link from “The Legend of Zelda: Twilight Princess” which, when scanned, will give you a pile of raw gourmet and prime meat.

2.B Check out the Castle
Next, you’ll want to complete the Crisis at Hyrule Castle quest. This quest entails walking to the marker in Hyrule castle, seeing a cutscene and returning to Lookout Landing. From here on out, you’re on your own and welcome to do whatever pleases you.
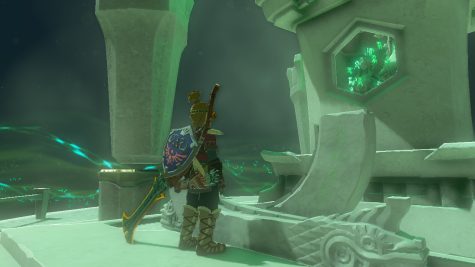
3. Getting the Camera
Obtaining the camera is technically considered an optional request; however, the fifth ability, Autobuild, is locked unless you complete the mission to get the camera. Additionally, if you are someone who is looking to fully complete the game, then the camera is a must, as it is required for some side quests and can assist in other fetch quests. To get the camera, you must complete the quest called Camera Work in the Depths. Simply fall into the big pit surrounded by red and black goo and you’ll find yourself in the Depths and ready to start the mission. Once complete, you’ll have the camera.

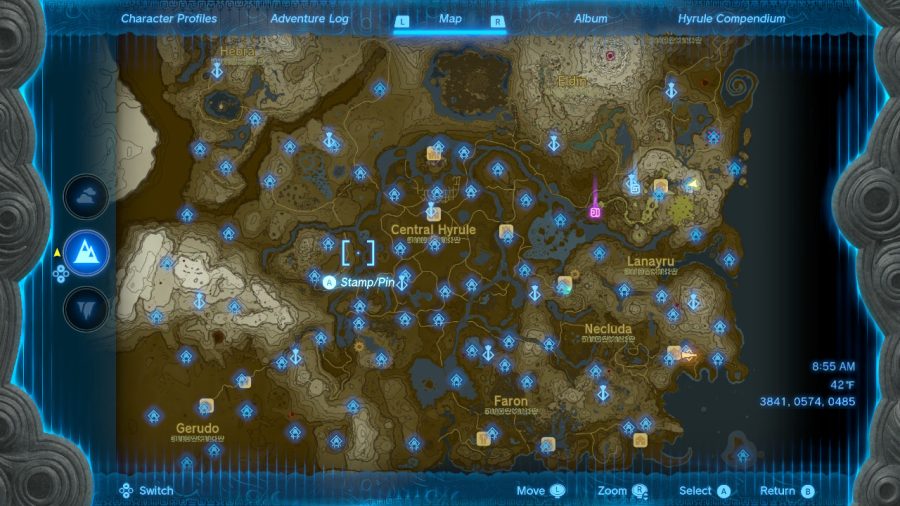
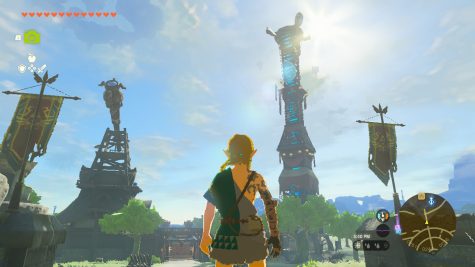
4. Head for the Towers
Though you are given the ability to look at the map, it doesn’t always mean that you can use the map. The map when you first receive it is nothing more than a big navy blue square. In order to get it to where it’s usable, you want to find large towers surrounded by floodlights, such as the one in Lookout Landing. These are called Skyview Towers, and there are fifteen in total. Skyview Towers also act as teleportation points and allow you to transport yourself all over Hyrule at a simple click of a button. They also have the ability to launch the player high in the sky so you can reach some floating islands in the Sky as well as cover more distance than when you are traveling on the Surface by paragliding through the air. All in all, it will give you a better sense of direction for the entire duration of the game.
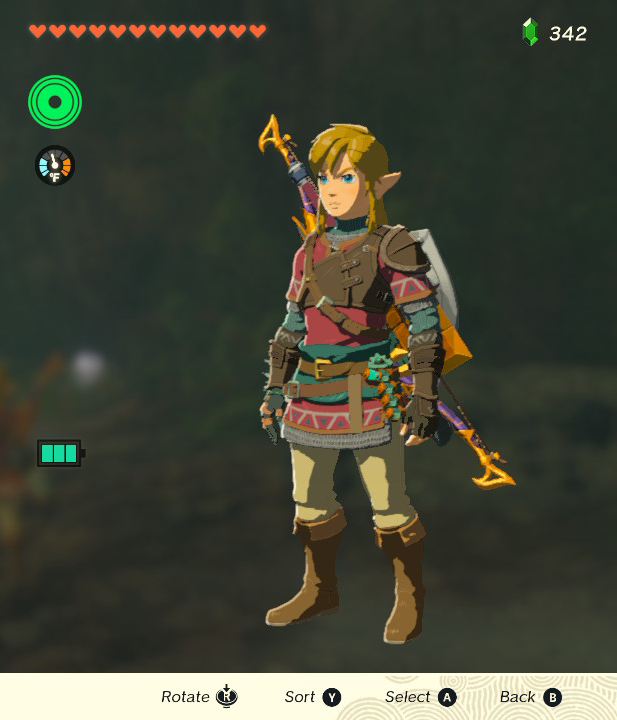
5. Give Yourself a Little Wiggle Room
At the end of the tutorial, the player will have four hearts and one wheel of stamina which will allow you to climb, swim, paraglide and sprint for a short period of time. And boy howdy do I mean short. I consistently found myself getting tracked down by monsters and unable to escape them fast enough because I kept running out of stamina. Additionally, it’s very easy to die when each hit from the lowest-level enemy takes away half a heart, giving you about eight hits before you’re at that Game Over screen.
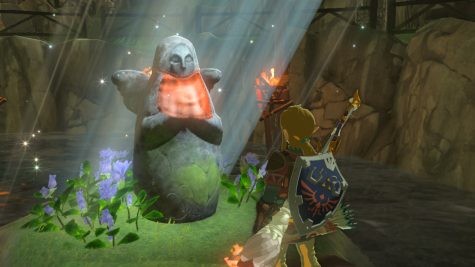
So, your next step is to raise your stamina level and gain a little bit more health. This can be done in the same manner as the previous game, by completing shrines scattered around Hyrule. Shrines are small puzzles for the player to solve in order to receive a glowing orb called Light of Blessing. Four of these orbs can be exchanged at a goddess statue (usually found in towns) for either one-fifth of a new stamina wheel or a new heart. For newcomers, I recommend getting at least two stamina wheel upgrades and at least three heart upgrades. This will cost you 20 Light of Blessing and require you to complete at least 20 shrines. Luckily there are a plethora of shrines in the Central Hyrule area. Additionally, the shrines in this area are fairly easy to solve but should you come across one that you just can’t bust, not to worry, there are plenty of others around to go to.
6. Get Yourself a Nice Rock
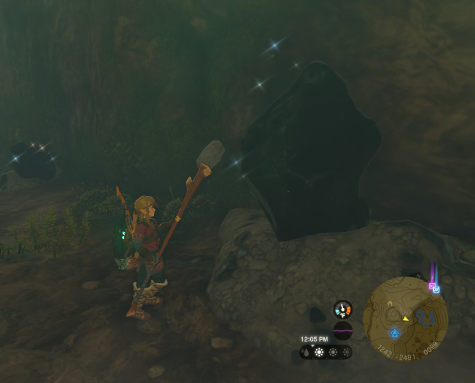
One of the notable characteristics of the two latest “Legend of Zelda” games is that certain places have certain climates. When you’re in the mountains, it’s cooler and you often experience snow-capped peaks; when you’re near the volcano, it’s blistering hot and you have to be wary of lava flows; and when you’re in the desert, it is sweltering during the day and freezing at night. In “Breath of the Wild,” this was solved by changing your outfit to better suit you for the climate. But buying clothes costs in-game money and could be quite expensive.
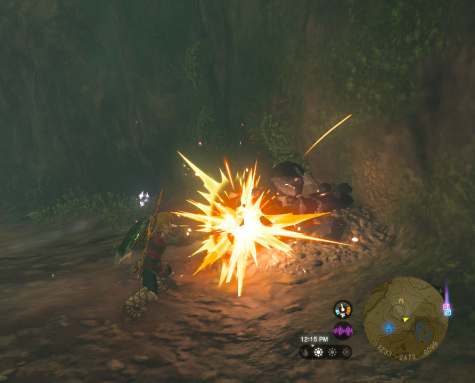
While the everchanging wardrobe is still an option in “Tears of the Kingdom,” the new abilities give you a quicker (and less expensive) way. Simply Fuse a Ruby or Sapphire to your weapon or shield and your body temperature will change based on the stone: Ruby will heat you up, and sapphire will cool you down. Rubies and sapphires can be found in underground caves by breaking open shining black rocks. These breakable rocks can also be found on mountains and in the Depths are well. You also might be able to purchase them from traveling merchants but often those are only slightly cheaper than just buying the clothes.
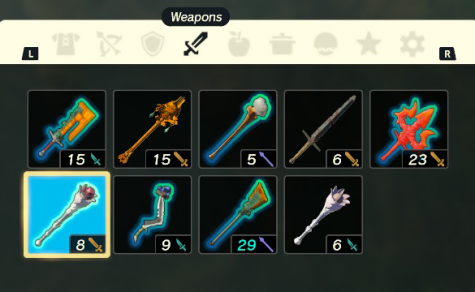
7. Have a Variety of Weapons
Weapons in “Tears of the Kingdom” can be found anywhere and everywhere. From sturdy sticks to rusty broadswords and gleaming tridents, there are plenty of things to defend yourself with. But not all of them have the same effect. One-handed weapons allow for faster reaction times but less durability. Two-handed weapons are slower to move and don’t allow you to use your shield but often deal more damage and are sturdier. The best way to protect yourself is to make sure you differentiate your weapons. Two-handed weapons, like clubs, are great to fuse with rocks and make hammers to mine for stones, such as rubies and sapphires. Halberds or staffs are great for keeping larger enemies at a distance. One-handed weapons like sticks or broadswords are great for close combat. While you are getting familiar with the in-game world around you, it’s best to keep a variety of weapons on you until you find what fighting style best suits you. And even after that, having one staff in your inventory for more reach wouldn’t hurt.
Entering a new world can be difficult but with these tips and tricks, I hope the world of Hyrule becomes a little more manageable for your exploration. “Tears of the Kingdom” is truly the ideal follow-up to the groundbreaking “Breath of the Wild,” and I cannot recommend this game enough to everyone. You can purchase physical copies in stores such as Target, Walmart or Gamestop. Or you can buy a digital copy from the Nintendo eShop.